In this tutorial we’ll be going over NTP configuration for your ACI fabric so that APICs and fabric switches can have their time synced properly.
Prerequisites:
* Fabric discovery completed
* In-Band/Out-of-Band connectivity for your APIC(s) and fabric switches to your NTP server
* In-Band/Out-of-Band contracts configured (need to allow default NTP port UDP 123)
* Static node management addresses configured for your APICs and fabric switches under the default mgmt tenant
My other tutorial Configuring Out-of-Band Management Connectivity in ACI will assist with configuring the necessary Out-of-Band Management prerequisites (contracts and static node management addresses).
My Setup:
* ACI fabric running 3.2(6i)
* NTP server with no NTP authentication required
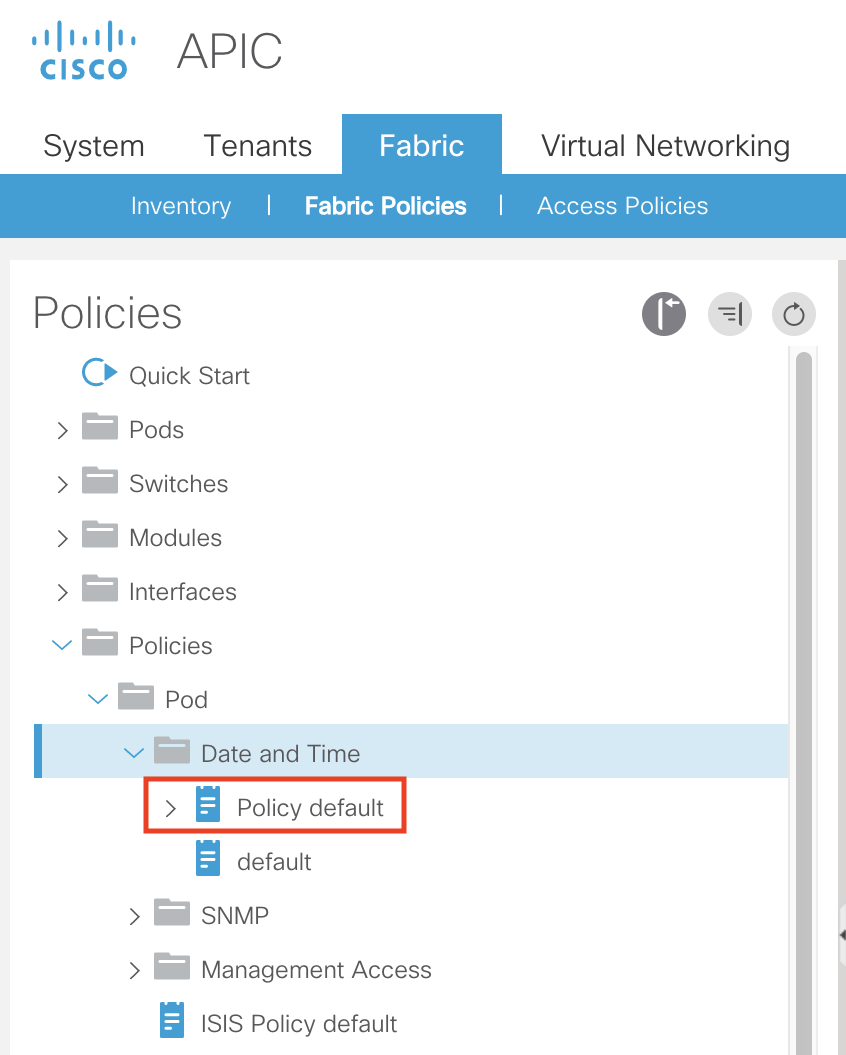
The first step in setting up NTP in ACI is to create the necessary NTP Fabric Policies. To do so, navigate to the following APIC web GUI path:
Fabric -> Fabric Policies -> Policies -> Pod -> Date and Time

Out of the box ACI will ship with two policies under the Date and Time policy folder structure named default. The first policy named default (also displayed as Policy default) is the Date and Time Policy where you will actually define your NTP server configurations:
You do not need to use this default policy and can create your own from scratch if you like.
The second policy named default will be used for the Date Time Format to specify your preferred time zone:
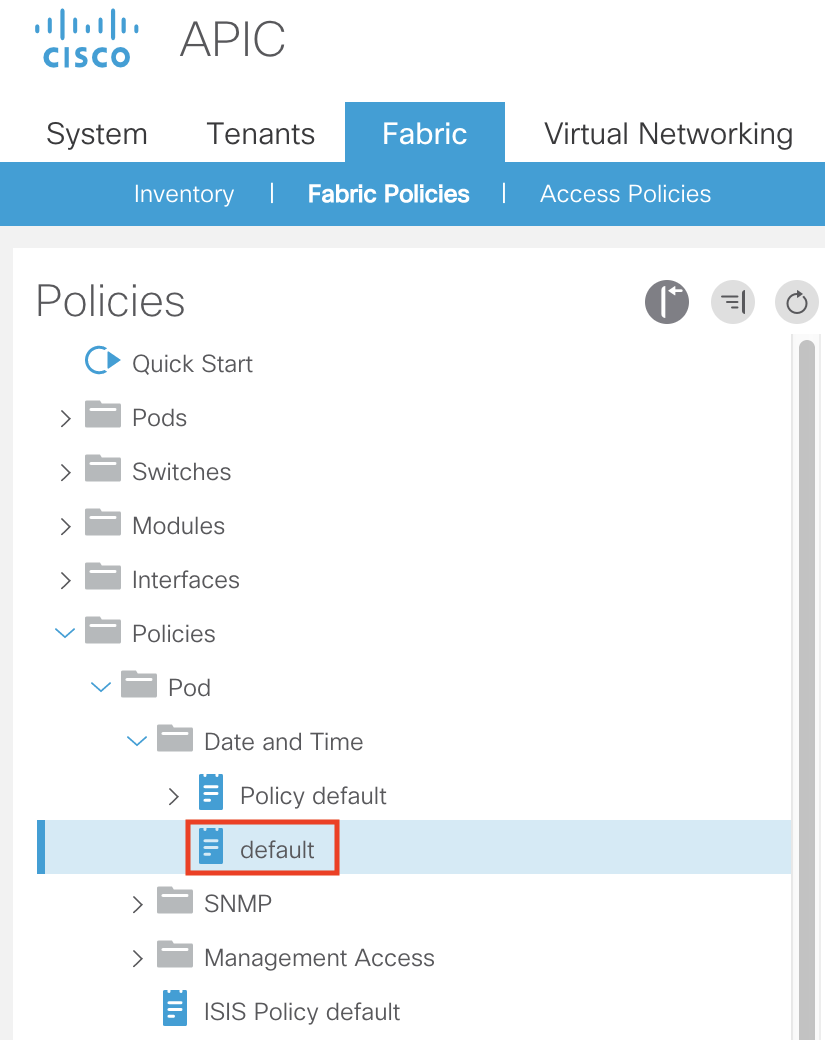
You need to use this default Date Time Format policy to specify your preferred time zone format. You cannot create another Date Time Format policy nor can the default Date Time Format policy be deleted.
For our purposes we’ll create a new Date and Time policy. To create a new Date and Time policy, right click the Date and Time in the policy folder structure and select Create Date and Time Policy:

Let’s call our new Date and Time Policy MyDateTimePol and set the Administrative State to Enabled. We will leave the Server State set to disabled since I don’t have a need for my ACI fabric to act as an NTP server for downstream clients. We’ll also set the Authentication State to disabled since I am not using NTP authentication in my setup:

Click Next to continue
From here we’ll click the + sign in the upper right to add a new NTP server to our custom Date and Time policy: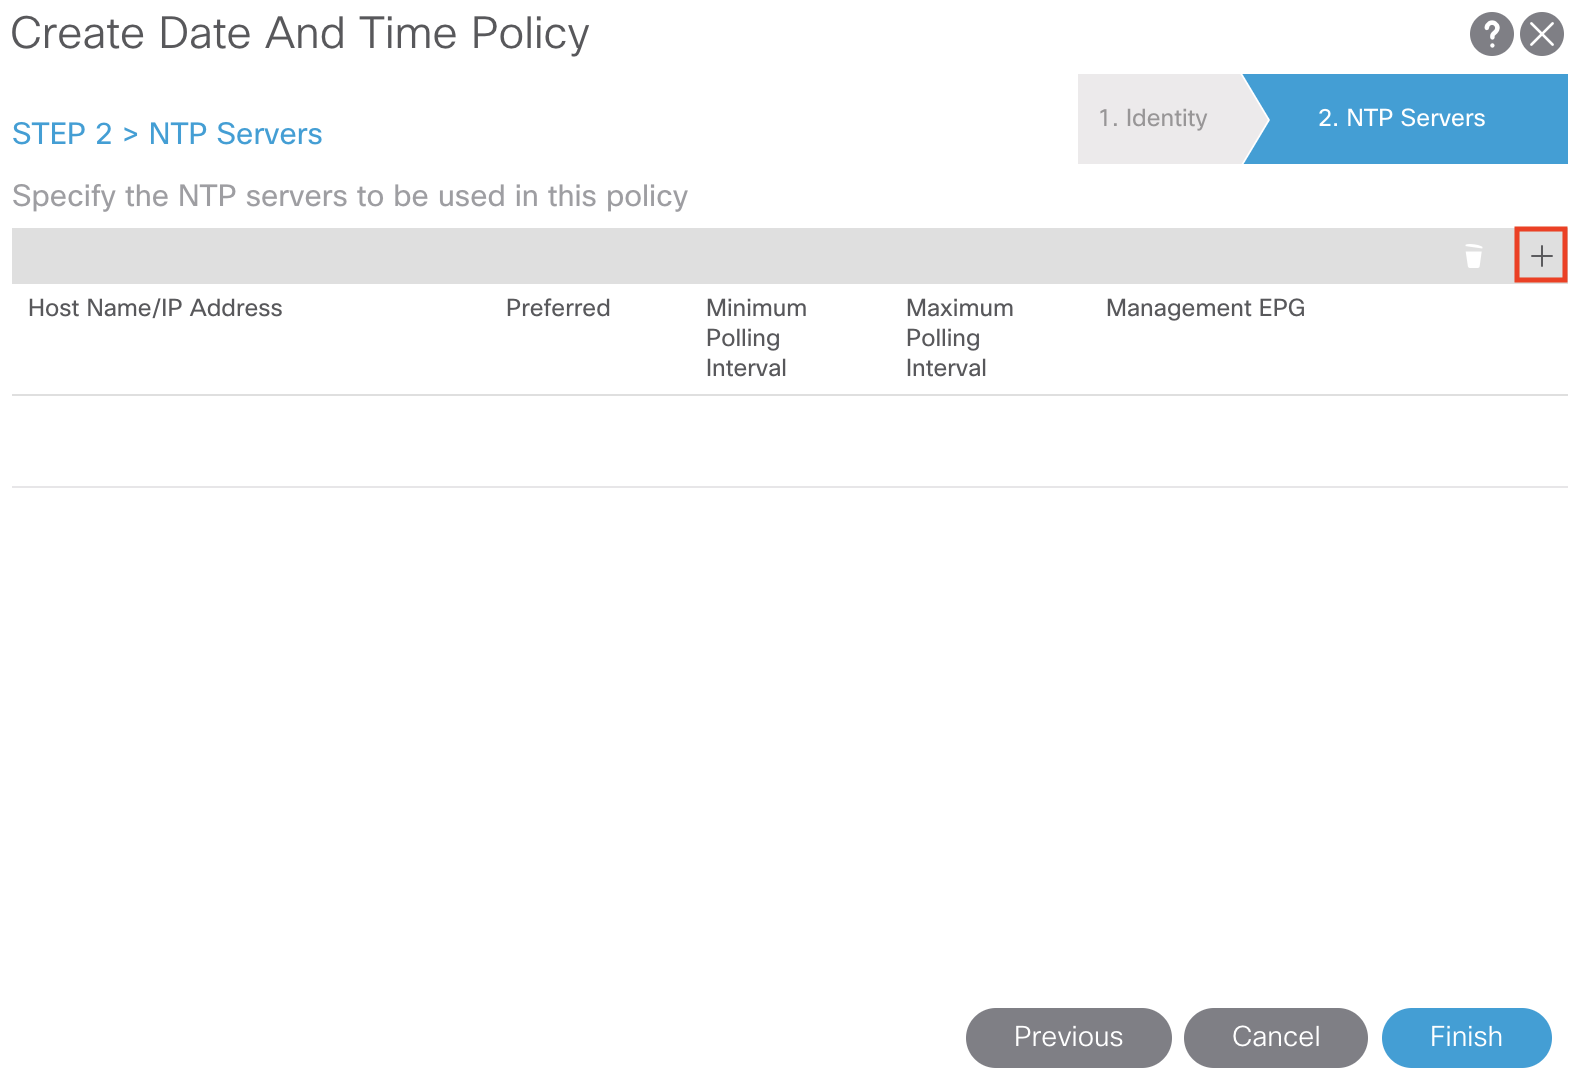
From here we’ll assign the IP/hostname of our NTP server and select the Management EPG our NTP server is accessible from: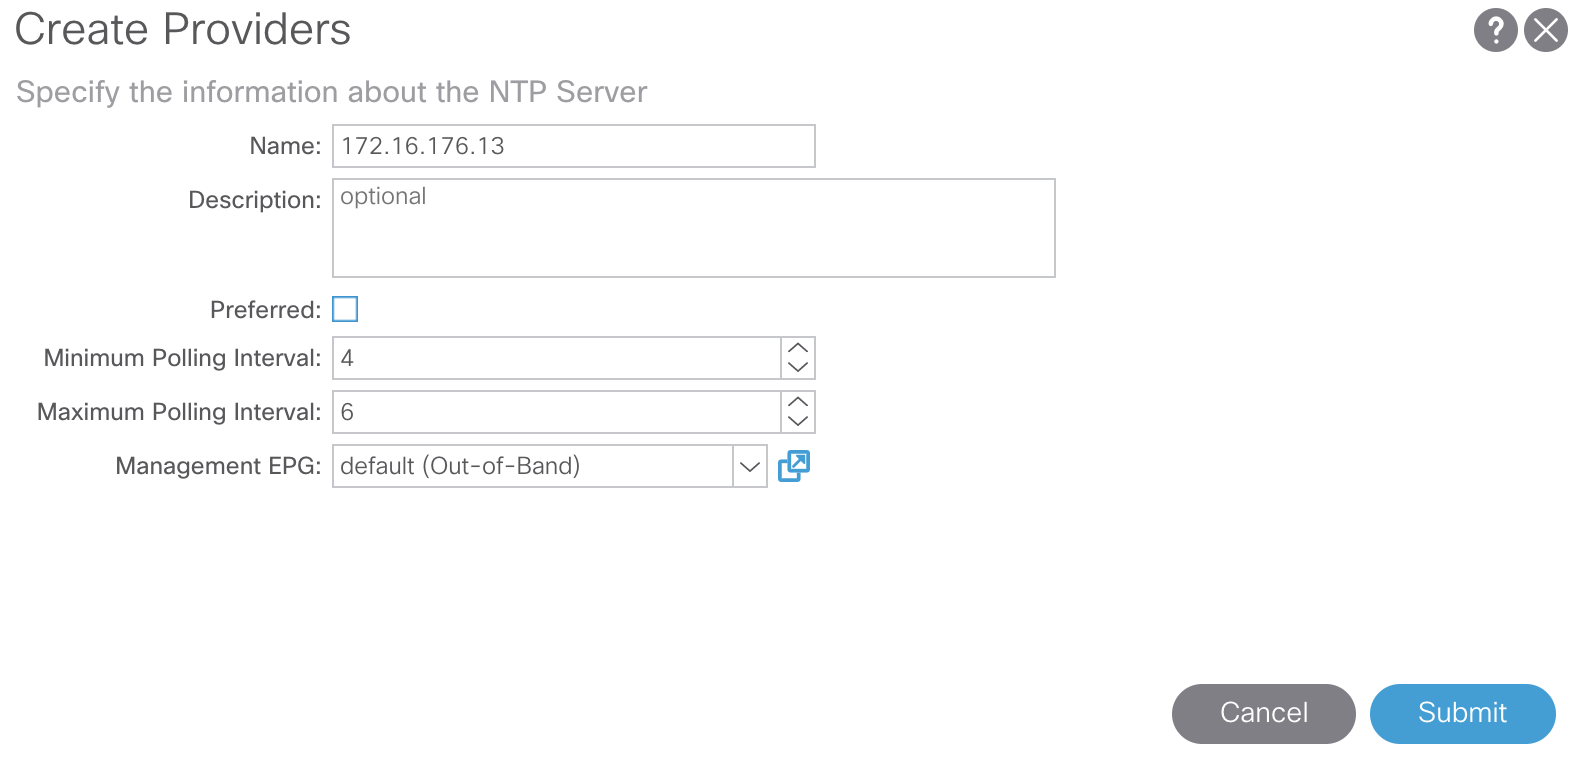
Click Submit to apply the configuration
Now that we’ve configured our NTP server in our custom Date and Time policy, let’s edit the default Date Time Format policy to set our preferred time zone (default is Coordinated Universal Time):
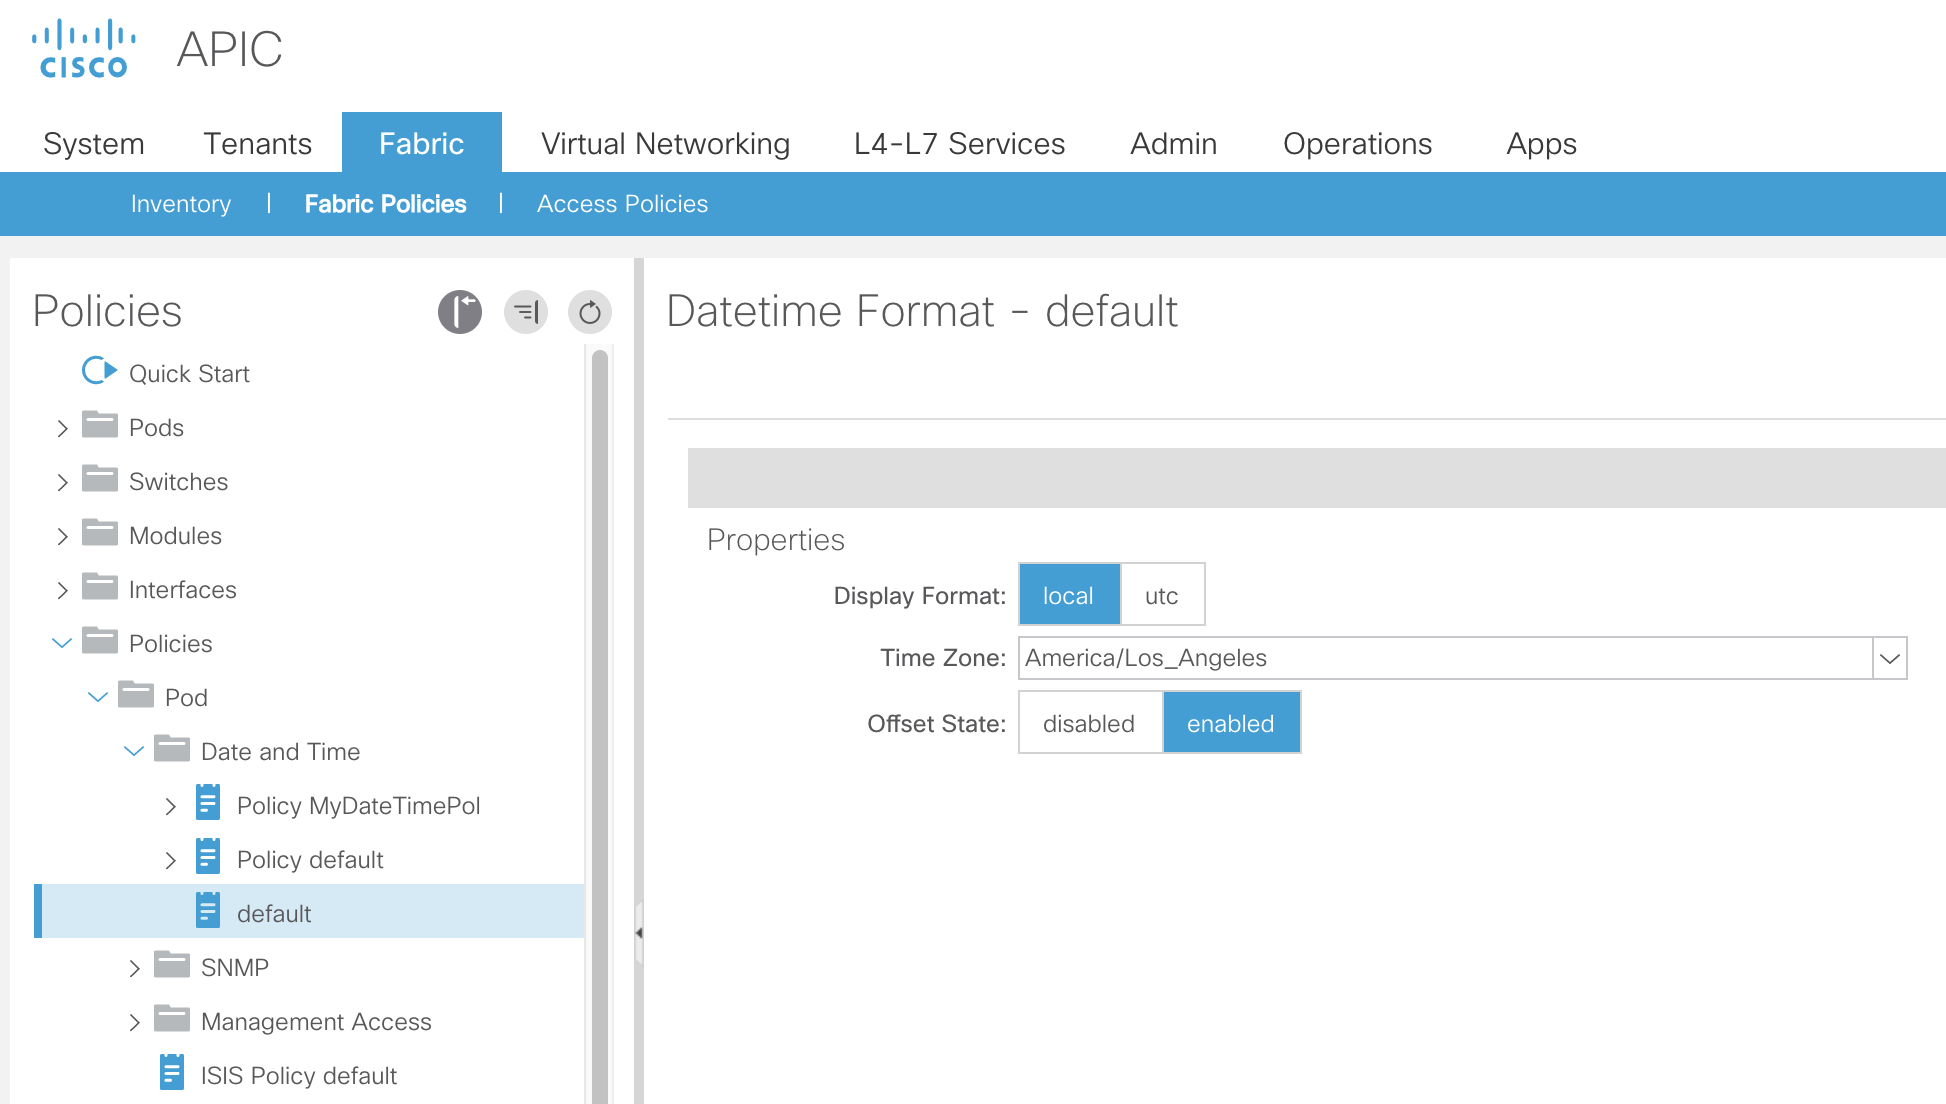
Select your preferred time zone from the list and click Submit to apply the configuration.
Next we need to tie our newly created Date and Time policy, MyDateTimePol, to the POD Policy Group. For our purposes we are going to use the default Pod Policy Group that comes out of the box with ACI.
To apply this configuration navigate to the following APIC web GUI path:
Fabric -> Fabric Policies -> Pods -> Policy Groups -> YOUR_POD_POLICY_GROUP_HERE

Note: If you do not have a default Pod Policy Group you can create a new one by right clicking Policy Groups and selecting Create Pod Policy Group
On the right hand pane you will see a field for Date Time Policy. From the drop down, select your newly created Date and Time policy and click Submit to apply the configuration.
Next, make sure to associate your Pod Policy Group to your Pod Profile. For our purposes we are going to use the default Pod Profile that comes out of the box with ACI to associate the default Pod Policy Group.
To do so, navigate to the following APIC web GUI path:
Fabric -> Fabric Policies -> Pods -> Profiles -> YOUR_POD_PROFILE_HERE

Note: If you do not have a default Pod Profile you can create a new one by right clicking Profiles and selecting Create Pod Profile
Click Update to apply your Pod Policy Group to your Pod Profile
This concludes all the necessary ACI NTP configuration
